
Windows 10 File Explorer Window Searches


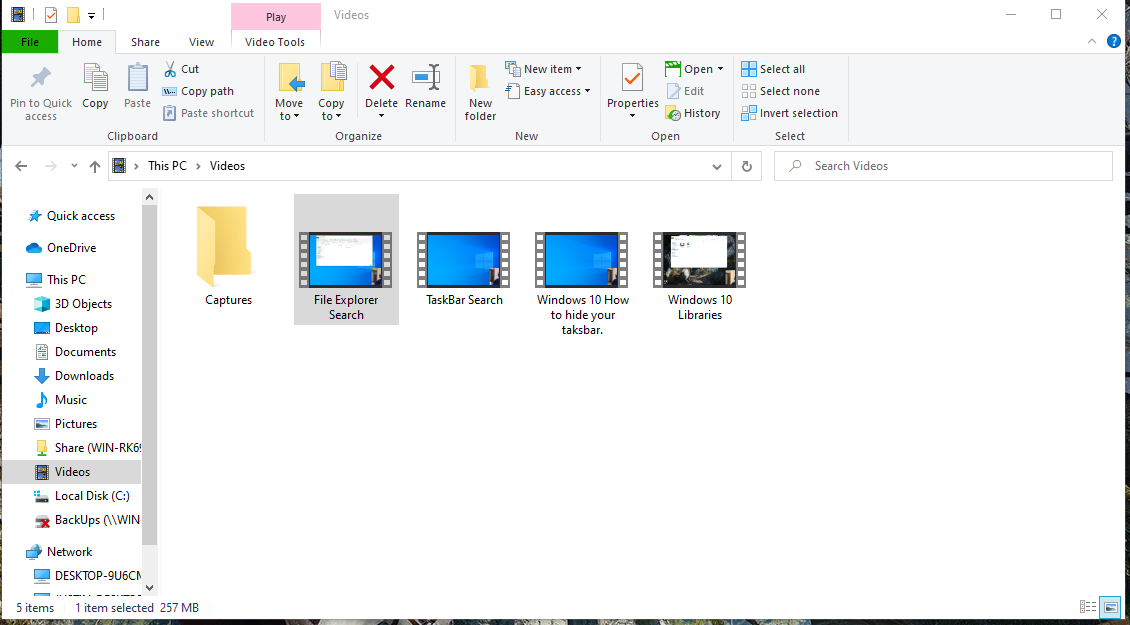
There are multiple ways that you can search in Windows, the File Explorer search is no exception and we’re going to go over what you can do in this tutorial.


One of the benefits of the File Explorer search is you have more real estate for search results.

Couple things to note about the File Explorer search box:


You can make the search box bigger by bringing your mouse cursor over the edge and dragging it out more.


When you type in your search item, you will get another tab called a search that will give you more search options, these options are described below:


This PC: this will expand your search to the entire computer.


Current Folder: This will only search in the current folder that you’re in. Special note, it will literally only search for the folder that you’re in, not even the subfolders.


All Subfolders: this will allow you to search for all the subfolders too.


Search again in: This will remember where you have a search in, in the past.


Date Modified, Kind, Size, Other properties: these are search filters that you can apply to your search.


 The other properties:

Type: lets you specify the file type to search for if you know the file extension.

Name: this will search for the file name only.

Folder path: if you know the folder path to the object, you’re searching for you can use this.

Tags: if you put tags on a document, it can be searched for.

            Recent Searches: This will show all your recent searches.


Advanced Options: Here you can search for nonindexed items and also tun on searching for zipped files.


Save search: this becomes available after you have searched, and you can save those parameters for later use.


You will notice when you’re clicking on these filtered results, it is adding a tag in the search box. You can manually type these in if you prefer, or if you can remember them that is.


If you’re looking for any tech support, please feel free to contact me at my website:

http://sinntechnologies.net/ComputerRepairMiddletonWI

Comments

Popular posts from this blog

Windows 10 How To Create A Zipped Folder

If you’re here, you’re probably looking for a guide on how to Create a Zipped folder. I’m assuming at this point you know what is and just want to compress your files. So let's get started. 1.  Right-Click in the location you want to create a Zipped folder. 2. Click new, then select Compressed Zipped folder. 3. This will create a zipped folder in that location, then give the folder a name. Within the zipped folder, you can drag in whole folders or just files and they will then be compressed.   You can copy and paste folders in and out of the folder, and they will be compressed and decompressed as it is put in and taken out. In this example, we have a folder with a text file with some text. The size of the file in the none compressed folder: The size of the file now smaller in the compressed folder: You can also take a folder that isn’t compressed and make it compressed. Say you have a project with many folders and files and you’re done with it. You can send it to a zipped folde

How To Change Windows Default Sounds

 If you’re interested in how to change windows default sounds, you have come to the right place. Here we will cover everything there is to know about changing Windows default sounds. So let’s get started. 1.  Right-click on the desktop and click personalize. 2.    Then select Themes on the left. 3.    Then there will be an option for sounds. 4.    Once you click on sounds you will be greeted with a new window like below: 5. You will be greeted with all the sounds your computer makes. You can modify these sounds to whatever sounds you would like.    You will see there is a drop-down menu that says windows defaults unless you have already modified your sound in the past, which if you’re reading this, chances are you haven’t. By default, you can only choose no sound or the windows default sounds.  If you modify the sounds, which we will get to, you have the option to save the sound scheme as a different name. That is the save as button.  Then of course you have the delete option, to

Windows 10 Themes Part One

 If you’re here chances are you’re looking to learn how to make a new them in windows 10. You come to the right place as there is a lot of settings we’re going to be covering. This will be a two-part article as I don’t want these to get too long and give you time to digest some of the content and come back to it later. But let’s get started as we have a lot to cover in this tutorial. 1.  First You will want to right-click on your desktop and click the option personalize, like below: 2.    Then on the left-hand menu, we are going to want to select themes: You will be greeted with many options to customize your theme as pictured above. The Top half of the window is your current theme. The bottom half of the window is your saved themes. So they will be themes that you have created in the past that you can still use if you would like. There is also the canned themes that came with Windows that are already there. We’re going to be covering the top half of the first and making a new them